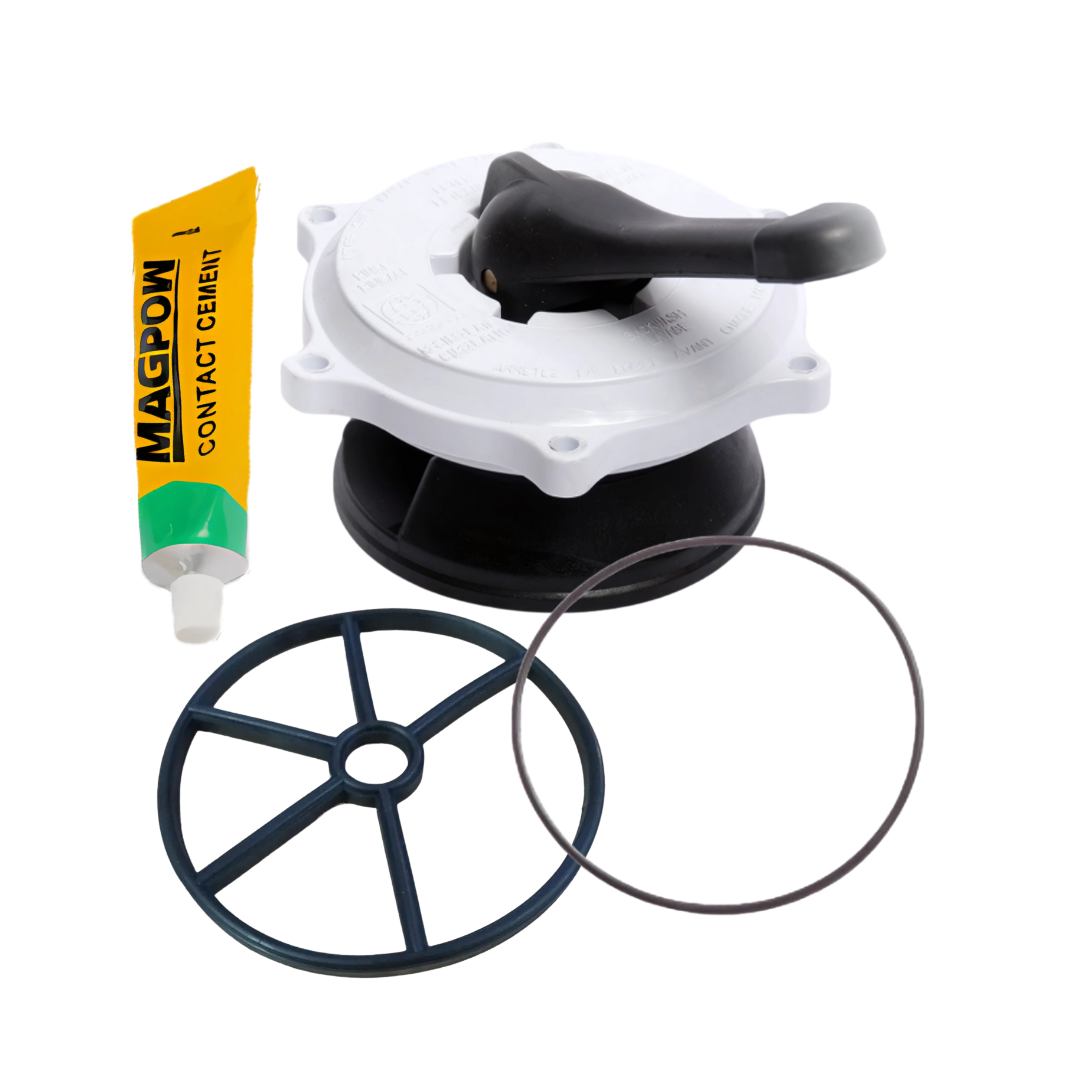
POOL FILTER MPV TOP KIT EARTHECO (WHITE)
$ 24.72
POOL FILTER MPV TOP EARTHECO KIT WHITE WAGON WHEEL GASKET Reliable Multiport Valve Replacement for Smooth Pool Filtration Product Description Restore reliable performance and tight seals to your filter system with the EARTHeCO MPV Top Kit (White). Designed primarily for EARTHeCO sand filters but compatible with standard filtration systems using a 197 mm wagon wheel (spider) gasket, this kit gives you everything needed to replace a worn or leaking MPV top. Inside the kit you’ll find the white MPV top assembly, the wagon wheel gasket (spider seal), a dedicated top O-ring, and 50 ml of contact adhesive for proper bonding during installation. The wagon wheel gasket ensures water is routed correctly through funnel-like spokes in the valve, preventing leaks or bypass flow between ports. With this kit, you regain full multiport valve functionality: filter, backwash, rinse, waste, recirculate, and closed modes. The durable plastic construction resists pool chemical environments, and the adhesive helps ensure a long-lasting seal. Designed for both DIY repairs and professional servicing, this kit simplifies maintenance and reduces downtime. FAQ;s How do I install the new MPV top kit?First shut off the pump and relieve pressure. Remove the old top and gasket, clean the surface thoroughly, apply the included adhesive to gasket and valve area, allow about 5 minutes drying time, then position the new gasket and top. Keep the valve in the “open” position for 24 hours to allow adhesive cure before normal operation. What will happen if the wagon wheel gasket is worn or damaged?A damaged or hardened gasket allows water to bypass between valve ports, reduces filtration efficiency, and can leak internally, leading to wasted water and poor performance. Can this top kit be used on non-EARTHeCO filters?Yes — as long as the existing valve uses a 197 mm wagon wheel gasket (also common in many generic multiport valves), the kit is compatible. What maintenance frequency is recommended?Inspect annually for gasket wear or cracking, clean valve face, and replace when leaks or shifting modes occur. Does the adhesive last?If properly applied and cured, the provided contact adhesive ensures a lasting bond and seal under normal pool conditions. Key Features & Benefits Complete replacement kit: top, wagon wheel gasket, O-ring, adhesive Restores full multiport valve functions Compatible with EARTHeCO and standard filters using 197 mm gasket Prevents internal leakage and improves performance Durable plastic construction suitable for pool chemistry Simplifies maintenance and reduces downtime Technical Specifications Product Type: MPV Top Replacement Kit Gasket Type: Wagon Wheel / Spider Seal (197 mm) Includes: MPV Top (white), Wagon Wheel Gasket, O-Ring, 50 ml Contact Adhesive Compatibility: EARTHeCO filters & standard 1–5 bag systems with 197 mm gasket How to Change Your Pool Multiport Valve Handle Assembly: A Complete DIY Guide Maintaining your pool equipment is essential for keeping your swimming pool in optimal condition. One common maintenance task that pool owners often face is replacing or changing the multiport valve handle assembly. This guide will walk you through the process step-by-step, making it easy for you to complete this DIY project with confidence. What is a Multiport Valve Handle Assembly? The multiport valve (MPV) is a crucial component of your pool’s filtration system. It controls the flow of water through your sand filter and allows you to switch between different functions such as filter, backwash, rinse, waste, recirculate, and closed positions. The handle assembly is the top portion of this valve that you manually operate to select these different settings. When Should You Replace Your Multiport Valve Handle Assembly? You may need to replace your multiport valve handle assembly if you notice: Difficulty turning the handle between positions Cracks or breaks in the handle or top assembly Leaking from the top of the valve The handle won’t stay in position or feels loose Worn or damaged internal components affecting valve operation Water flowing from the backwash pipe when the valve is set to filter or bypass position – a clear sign of internal seal failure Choosing the Right Replacement MPV Top Assembly Selecting the correct multiport valve top assembly for your sand filter is crucial. Here’s a guide based on your filter brand: Universal Options (Fits Most South African Sand Filters): EarthEco MPV Top Kit (White) – Universal fit, available in black and white Aqua Max MPV Top Kit (White) – Universal fit, available in black and white These universal options are compatible with most South African sand filter brands including EarthEco, Storm, Aqua King, Aqua Max, Uni, Quality, and Ultrazap filters. Brand-Specific Options: Speck MPV Top Assembly – Recommended to use the original Speck brand for optimal fit and performance Collins filters – Recommended to use original Collins brand parts Pro Tip: While universal options work well for most filters, using original manufacturer parts for Speck and Collins filters ensures the best fit and longevity. Tools and Parts You’ll Need Before starting this project, gather these tools and replacement parts: Tools: Screwdrivers (flathead and Phillips head) Size 10 spanner (or adjustable wrench) Clean cloth for wiping surfaces Replacement Parts: Replacement multiport valve top assembly (see options above) Spider/Wagon Wheel Gasket with Adhesive (highly recommended) MPV Top Lid O-Ring (spare, if needed) MPV Top Bolts and Hex Nuts (spare, if needed) Step-by-Step Guide to Changing Your Multiport Valve Handle Assembly Step 1: Turn Off Your Pool Pump Safety first! Always turn off your pool pump and ensure the system is completely shut down before beginning any maintenance work. This prevents water flow and potential accidents during the replacement process. Step 2: Release Pressure Turn the multiport valve handle to the “Filter” position and then slowly move it to release any built-up pressure in the system. This step is crucial for your safety and makes the disassembly process easier. Step 3: Remove the Bolts and Lift Off the Old Top Assembly Before you can lift off the multiport valve top assembly, you’ll need to remove the bolts that secure it to the valve body. The type of tool required depends on your sand filter brand: EarthEco, Storm, and Aqua King sand filters: Use a size 10 spanner to remove the bolts Speck sand filters: Use a large Phillips head screwdriver Aqua Max, Uni, Quality, and Ultrazap sand filters: Use a large flathead screwdriver Carefully remove all the bolts around the perimeter of the multiport valve top assembly. Keep these bolts in a safe place as you’ll need them to secure the new assembly. If any bolts are damaged or stripped, you can purchase replacement MPV top bolts and hex nuts. Once all bolts are removed, carefully lift the old top assembly straight up and off the valve body. Be mindful of any O-rings or gaskets that may be present. Important Note: You do not need to remove the entire filter valve from your plumbing system. Only the top assembly needs to be replaced. Step 4: Inspect and Remove the Spider/Wagon Wheel Gasket With the top assembly removed, you’ll now have clear access to the spider gasket (also called a wagon wheel gasket) inside the valve body. This star-shaped gasket is critical for directing water flow to the correct ports. Inspect the gasket for: Cracks or tears in the rubber Worn or flattened areas Hardening or loss of flexibility Any visible damage or deterioration Since you already have the top assembly off, it’s highly recommended to replace the spider gasket at this time, even if it looks okay. This preventative maintenance can save you from having to repeat this job soon. You can purchase a replacement spider/wagon wheel gasket with adhesive included. To remove the spider gasket: Locate the center hub – The gasket sits on a central post in the valve body Gently lift one edge – Use your fingers or a flathead screwdriver to carefully pry up one section of the gasket Work around the perimeter – Slowly work your way around the gasket, lifting it evenly to avoid tearing Lift off the center post – Once loosened, lift the entire gasket straight up and off the central hub Clean the seating area – Remove any debris, sand, or old gasket material from the valve body and center post Pro Tip: Take a photo of the gasket orientation before removal so you know exactly how the new one should be positioned. Step 5: Clean the Valve Body Before installing the new assembly, take a moment to thoroughly clean the valve body surface where the new top will sit. Remove any debris, old gasket material, sand, or buildup. Pay special attention to the spider gasket seating area and the center post. A clean surface ensures a proper seal and prevents future leaks. Step 6: Install the New Spider Gasket (if replacing) If you’re installing a new spider gasket: Apply contact adhesive – Use contact adhesive (not permanent adhesive) on the bottom of the gasket and the valve body seating area. If you purchased the spider gasket with adhesive kit, the adhesive is included. Contact adhesive will hold the gasket securely in position during installation but still allows for easy removal during future maintenance. Important: Never use permanent adhesives like super glue or epoxy, as this will make future gasket replacement extremely difficult and may damage the valve body. Allow adhesive to become tacky – Follow the contact adhesive manufacturer’s instructions, typically waiting 1-2 minutes until the adhesive becomes slightly tacky to the touch. Position the gasket over the center post, ensuring the star-shaped ports align correctly with the valve body openings. Press down firmly around the entire perimeter to seat it properly and activate the contact adhesive bond. Check alignment – Verify that each “spoke” of the spider aligns with its corresponding port before the adhesive fully sets. Pro Tip: A light coating of contact adhesive is all you need – too much can create mess and won’t improve the seal. Step 7: Install the New Top Assembly Position your new multiport valve top assembly onto the valve body, ensuring proper alignment. The valve stem should fit correctly into the internal mechanism. Make sure any O-rings or gaskets are properly seated. If the O-ring appears worn or damaged, replace it with a new MPV top lid O-ring. Tightening the bolts: Replace all bolts around the perimeter of the valve top assembly. Tighten in a crisscross pattern – Similar to tightening car wheel bolts, work in a star or crisscross pattern to ensure even pressure distribution across the entire assembly. Snug, not over-tight – Tighten the bolts firmly but do not over-tighten. Excessive force can crack or break the plastic housing. The goal is a secure, even seal, not maximum torque. Critical waiting period: Do not turn the handle for 3-4 hours after installation. This allows the contact adhesive to fully cure and set properly. Wait at least 3 hours before testing the system to ensure the spider gasket is securely bonded in place. Step 8: Test the System Turn your pool pump back on and check for any leaks around the new assembly. Rotate the handle through all positions to ensure smooth operation. If you notice any leaks, turn off the pump and check that gaskets are correctly positioned and all bolts are properly tightened. Pro Tips for Success Take photos before disassembly to help with reassembly Check the spider gasket while you have the valve open – if it’s worn, consider replacing it at the same time Don’t force anything – if parts don’t fit easily, double-check alignment Use silicone lubricant on O-rings to help with installation and create a better seal Replace parts as a set when possible for optimal performance Keep spare parts on hand – Having spare bolts and O-rings can save you time on future maintenance Common Mistakes to Avoid Not turning off the pump before starting work Forgetting to check O-rings and gaskets for proper placement Not testing for leaks before walking away from the job Forcing parts that don’t align properly Using permanent adhesive on the spider gasket Over-tightening bolts and cracking the plastic housing Operating the valve before the adhesive has fully cured When to Call a Professional While changing a multiport valve handle assembly is a straightforward DIY project, you should consider calling a professional pool technician if: You’re uncomfortable working with pool equipment You discover additional damage to the valve body The valve continues to leak after replacement You need to replace the entire multiport valve unit Maintenance Tips to Extend Valve Life Backwash regularly to prevent excessive pressure buildup Turn the handle slowly and deliberately between positions Don’t force the handle if it feels stuck Lubricate moving parts annually with appropriate silicone lubricant Inspect for wear during routine pool maintenance Cost Considerations Replacing just the top assembly is significantly more cost-effective than replacing the entire multiport valve. A replacement top assembly typically costs between R500-R1,500 (depending on brand and model), while a complete valve replacement can cost R2,000-R5,000 or more, plus installation labor if you hire a professional. Conclusion Changing your pool multiport valve handle assembly is a manageable DIY project that can save you money and keep your pool filtration system running smoothly. With just a few basic tools and about 30 minutes of your time (plus a few hours of curing time), you can complete this maintenance task and ensure your pool equipment continues to function properly. Remember, regular maintenance and timely repairs are key to extending the life of your pool equipment and enjoying crystal-clear water all season long. If you’re ever unsure about any aspect of pool maintenance, don’t hesitate to consult with a qualified pool professional. Shop all the parts you need for this project at OnlinePoolStore.co.za – your trusted source for quality pool equipment and supplies with nationwide delivery across South Africa. What’s Included in the Box: 1 × EARTHeCO MPV Top (White) 1 × Wagon Wheel Gasket (Spider Seal – 197mm) 1 × MPV Top O-Ring 1 × 50ml Contact Adhesive ⚠️ Safety Tip: Never operate the pool pump while switching MPV settings. Always shut off the pump before adjusting positions to avoid damaging the valve.
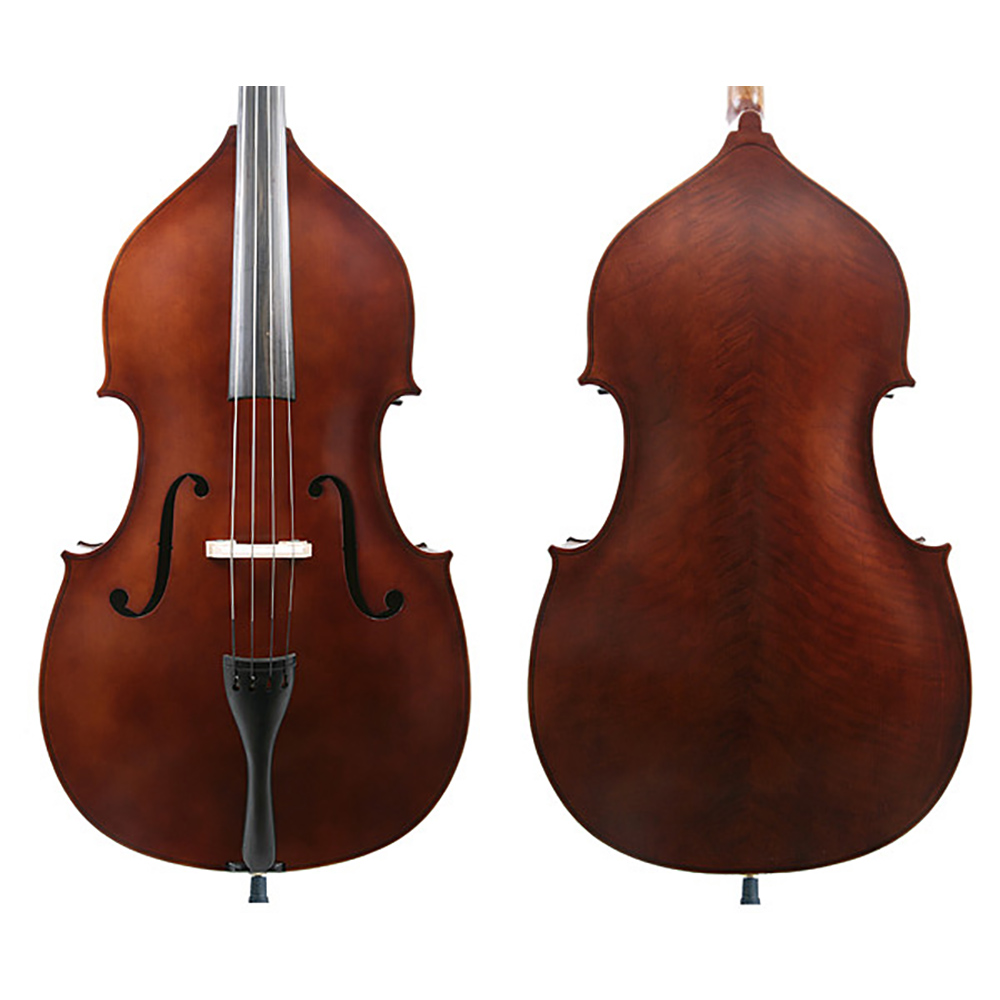 J Francis Double Bass Outfit Ply w/violin corners 3/4
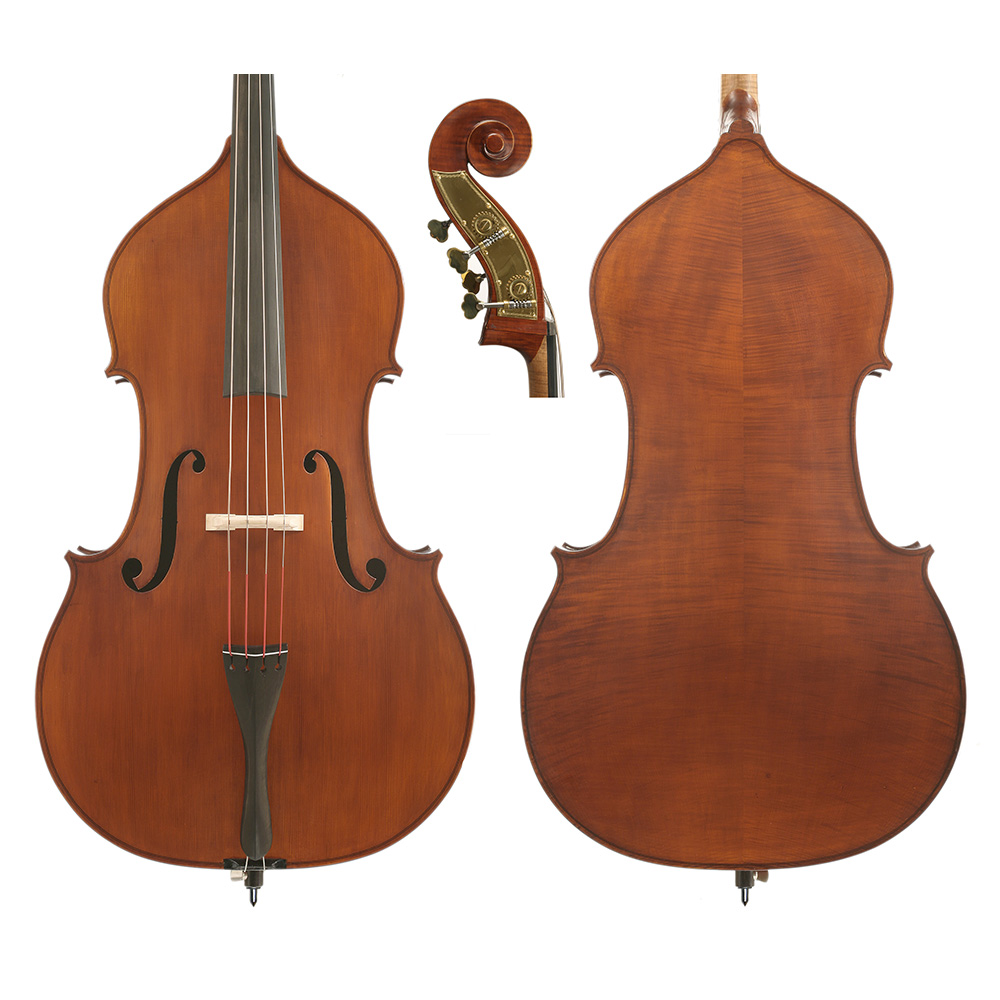 Gliga I Bass Only Swell-Back 3/4
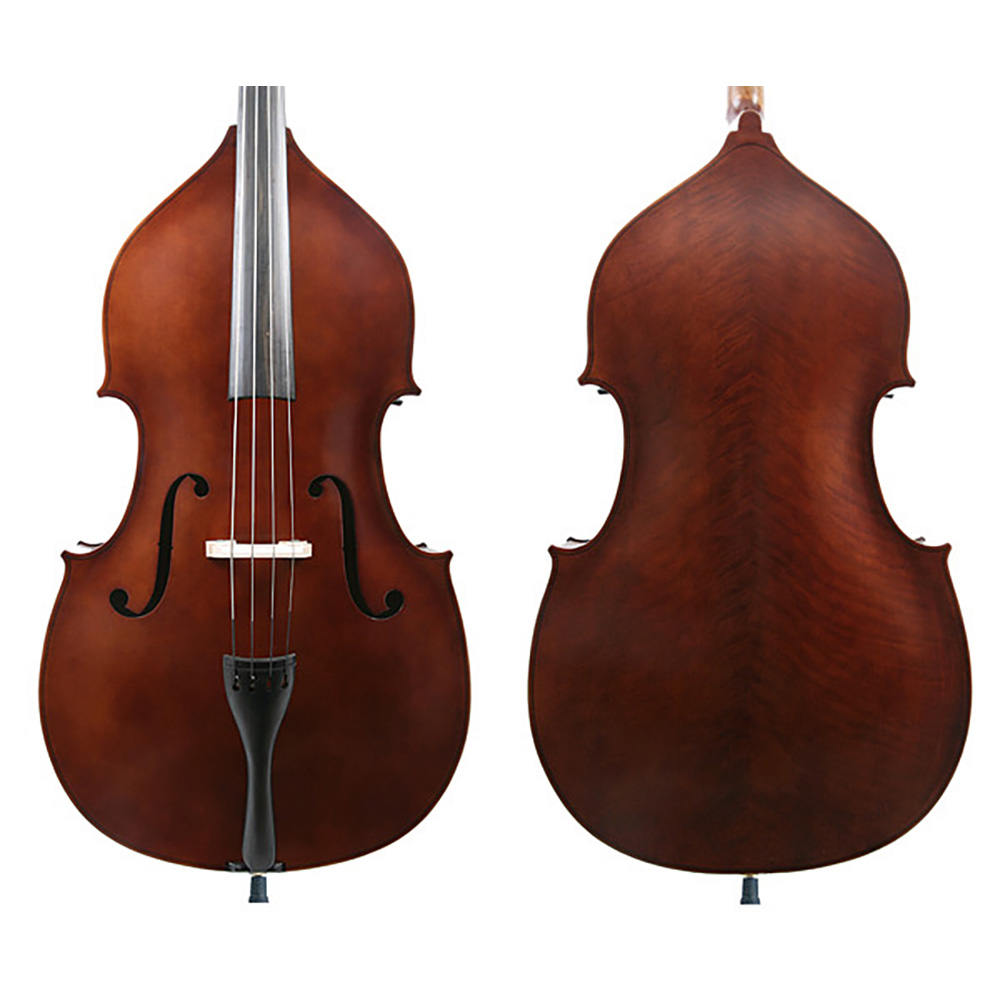 J Francis Double Bass Outfit-Solid Top w/violin corners 1/2
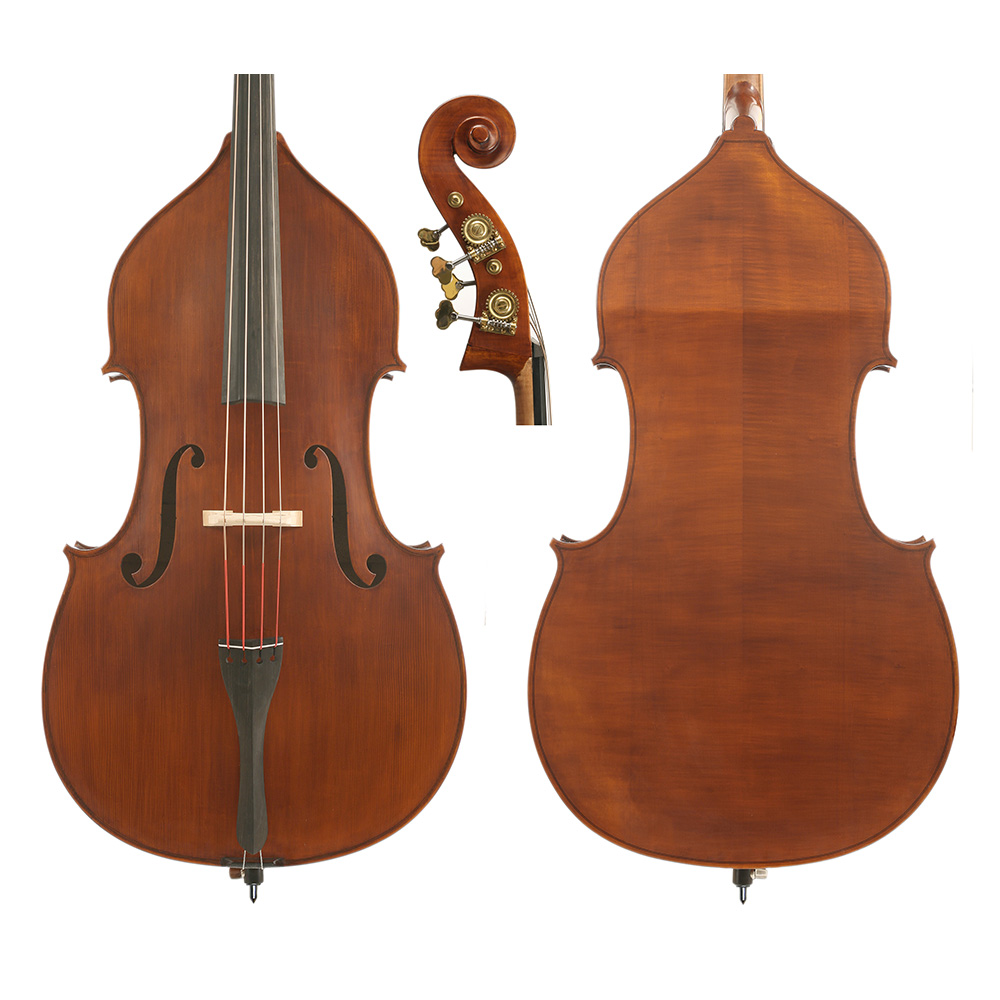 Gliga IF Bass Only French-Style 3/4
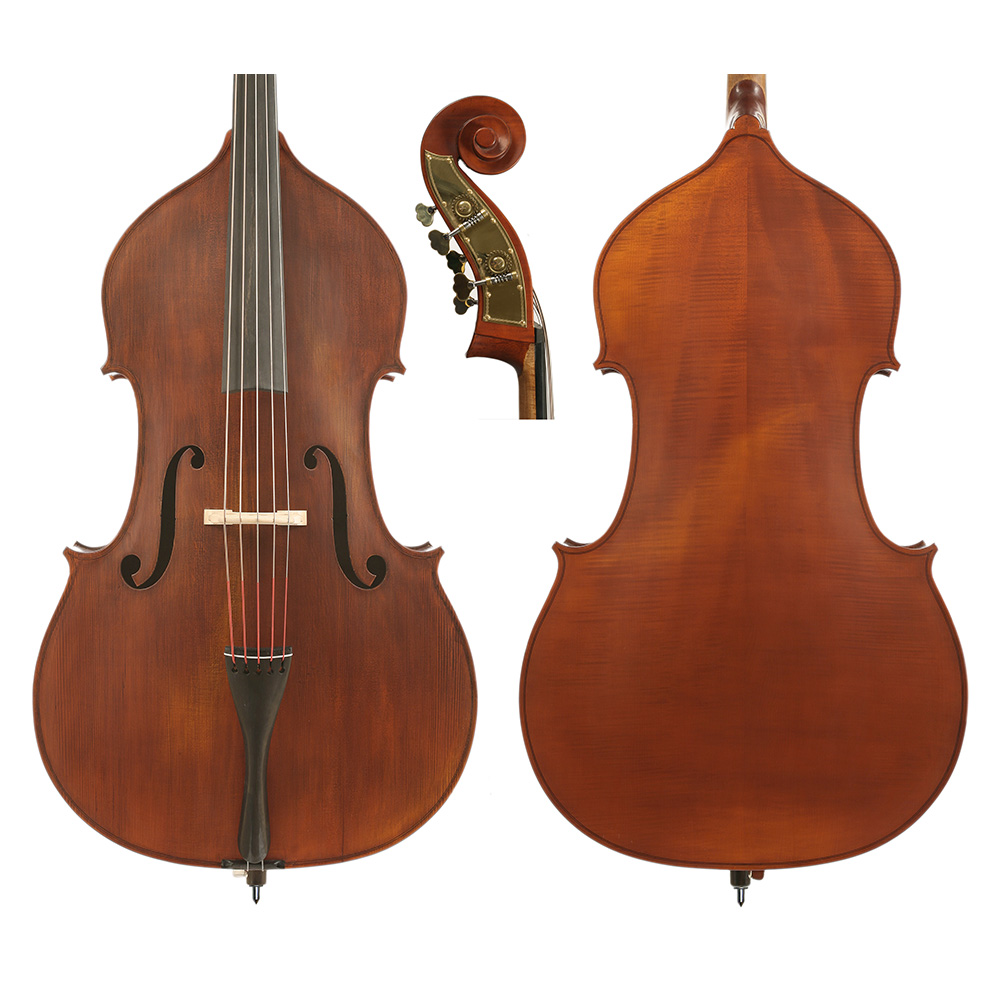 Gliga I Bass Only Swell-Back 5-String 3/4
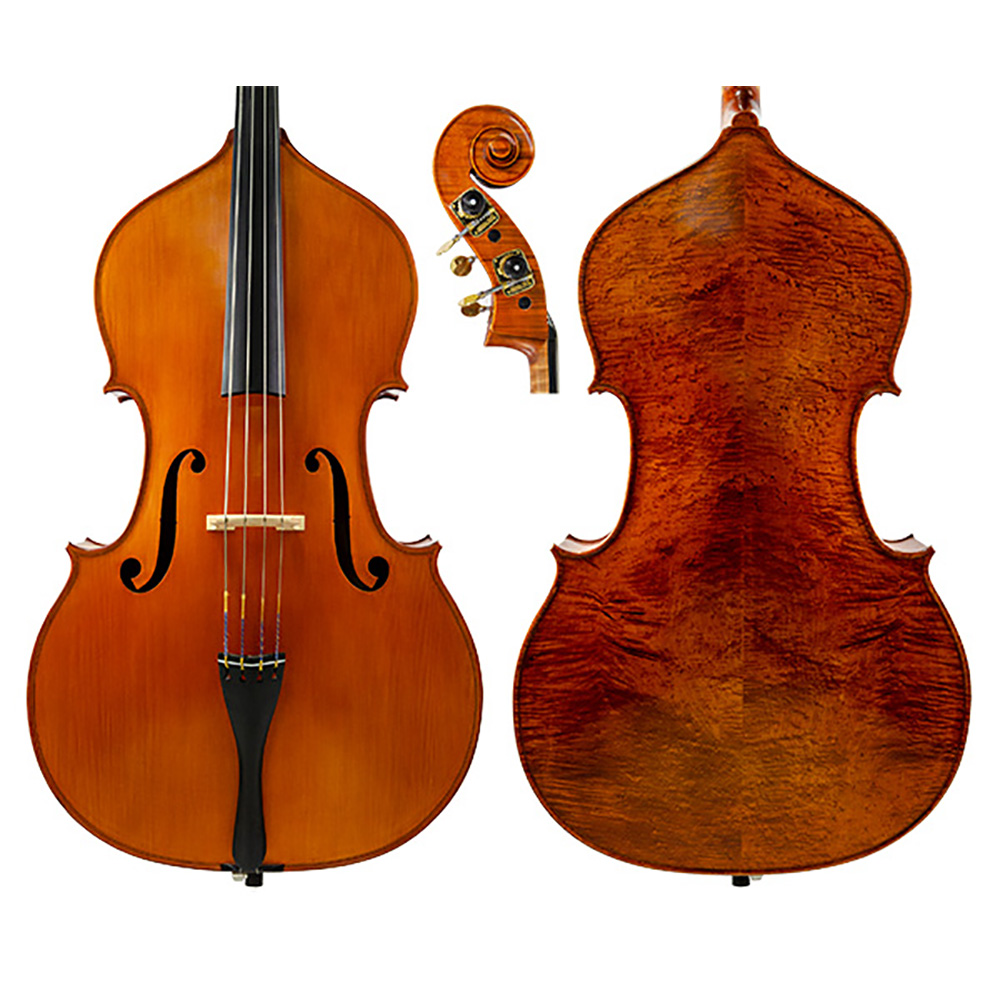 Gliga Vasile Master Bass – 3/4 size